Tuesday, May 23, 2023

The Final Reveal of Our Tiny House

I never thought I'd see the day where I could say I built a small structure that was livable. With electricity. That was comfortable. That would later serve as a crafting shed for me. And that was accomplished by a family effort. But here I am. Doing just that! We have done this! 

I painted the wall red. I never thought I would choose that for a wall color. It came out really nice though.
We installed the face plate covers for switches and outlets. They have a switch with hooks for their keys. There are 2 covers with
shelves for their phones. I have to create a different one though. One of the shelf covers was pulled off the wall when a cat thought it was meant to be his ledge to help him reach the windowsill. Lesson learned.
We tiled the floor with a beautiful grey wood style. It has proven to be helping in keeping the building cooler as the heat rolls in.
My sister-in-law has moved in. I'm proud of our accomplishments. It was a rough road to travel down, but it has finally paid off. Now, before anyone says, "What about the ceiling?" Yes, eventually I will finish that. There will always be room for improvements. As time goes on, and the functionality requirements change, so will some of the details. But as of right now, it is built. It is live-in ready. And I'm just happy with it. It means so much to us to have reached this point.

Tuesday, May 16, 2023

Crafting Mom - Making An Ice Cave For Elsa!

My youngest loves Elsa from the Disney Frozen movies. She had so many of the Elsa doll variations and almost every other character that she could practically reenact the movies. So keep that in mind for a moment...

I like to watch crafting videos while working out on the elliptical. One of my favorites that I follow is MyFroggyStuff. Toya comes up with some of the most amazing doll ideas ever. She also has lots of free printables to use. One of her videos that I happened to watch recently was making a shoe box room. Great for those with less storage space, or even if you want to switch up quick photo ops. I had shelved that video on my Barbie list on YouTube for future reference. 

Now, let's get back to why I mention these two topics. I had decided to create an ice cave for Elsa in a shoe box! What prompted it? I 3D printed a light cover for our kitchen that is pineapple shaped and printed in glow-in-the-dark PLA. When I removed the printed piece, it had a really cool support that I also had to remove. I didn't want to throw it out though. Looked too cool! As I continued working on it, I noticed that it looked like a giant icicle chandelier. Light bulb!

As often as we have to buy shoes for someone in this house, I typically have at least one shoe box laying around here somewhere. And since we are all pretty tall (except the girls, they are kinda runts), we have big feet and get big boxes. They are actually perfect for 11.5 inch dolls. 

I chose the largest box we had. Then I pulled out some blue colored craft paper. That was used as the main background. I chose a light green with white polka dot print for the ceiling. The blue tiles from My Froggy Stuff printables for the floor. Why blue tiles? They look like ice blocks which make great bricks for the ice queen. 

I hot glued the chandelier to the ceiling on the one side. After creating the sides, I also hot glued the loose icicle pieces I had. I chose to glue them against the side walls so that her dolls wouldn't be knocking them out while they played.
All the paper I used on this was from scrapbook, crafting or a printable papers. On the side that opens, I use stationary that looked like a frozen branch and snow drifts.
It seemed like the perfect cave entrance! Above that, I put up an image of an ice cave opening. This was my oldest daughters favorite part. And finally, I added windows to the main 'room'. These were also from My Froggy Stuff printables. They reminded me of ice crystal ones. 
I thought of adding a throne later. Or maybe a bed. My Megabits says this is Elsa's private hang out. And yes, this Elsa is getting a makeover. I've given her new hair from yarn. Just need to get her outfit together.

Monday, May 15, 2023

Finishing Touches in the Tiny House - Almost There!

This past week, we tried not to slow down. Though Saturday I had prior commitments that had me working a yard sale in our front yard. We have sealed cracks amazingly well though. I know, because we have had some heavy thunderstorms this past week that dropped loads of water and tested our build. Not a single leak was found! So happy about that. 

We started the painting. I have decided I'm not a fan of matte paint at all. I prefer semi gloss. Matte feels like chalk on the walls. And messes with my OCD. Makes my skin shiver and nails feel funny too. Not sure why. Oh, and it cracks when over imperfections in the walls. That part surprised me too.

My husband agreed to do an accent wall, so we bought some Strawberry Red by Benjamin Moore. I am really liking the color. Might just do the closet in the same since we should have enough.

We also began installing the flooring tiles. We went with a peel and stick version. Though, we may get the additional glue later for the ones that are on cracks of bowing boards. We have noticed that some wanted to pop up in the corners. The hope is that we will finish the floor tiles today. At least in the main room.

We have decided that the tiny house will have a crown molding and baseboards once we finish the painting and flooring. We still need to add the closet door, adjust the main door that keeps getting stuck, add door frames for both, add the deadbolt to the main door, paint the ceiling after I finish the putty... I think that about covers the rest of our to-do list. Oh wait, have to finish putting the face plates for the electrical outlets and switches. I'm in the process of painting one of them. So until next time!

Monday, May 8, 2023

Pressing On With the Tiny House!

So, so, so close! I can see the light at the end of the tunnel, and no, it is not that of a train! After stopping two Thursdays back to go help the in-laws move a truckload out here, we are finally back to work. You wouldn't think that driving about 6 hours to load a moving truck full of furniture, then driving another 6 hours back to unload that same truck into a storage unit would count as a break. However, that is exactly what it turned into. As much as it could be, it broke us from the routine of working in the tiny house just enough to give us a second wind. Even better, was that after unloading the truck, the in-laws were even able to help put up some pieces of sheet rock, also called drywall. 

So what is the latest news on this project? So happy you asked! 

We have had to fill in gaps around the roofing. Using expanding foam to accomplish this. It isn't the prettiest, but no one will see it and it keeps things like dust or bugs out. So win-win for me! I have noticed that moths aren't flying around inside anymore, which is wonderful.

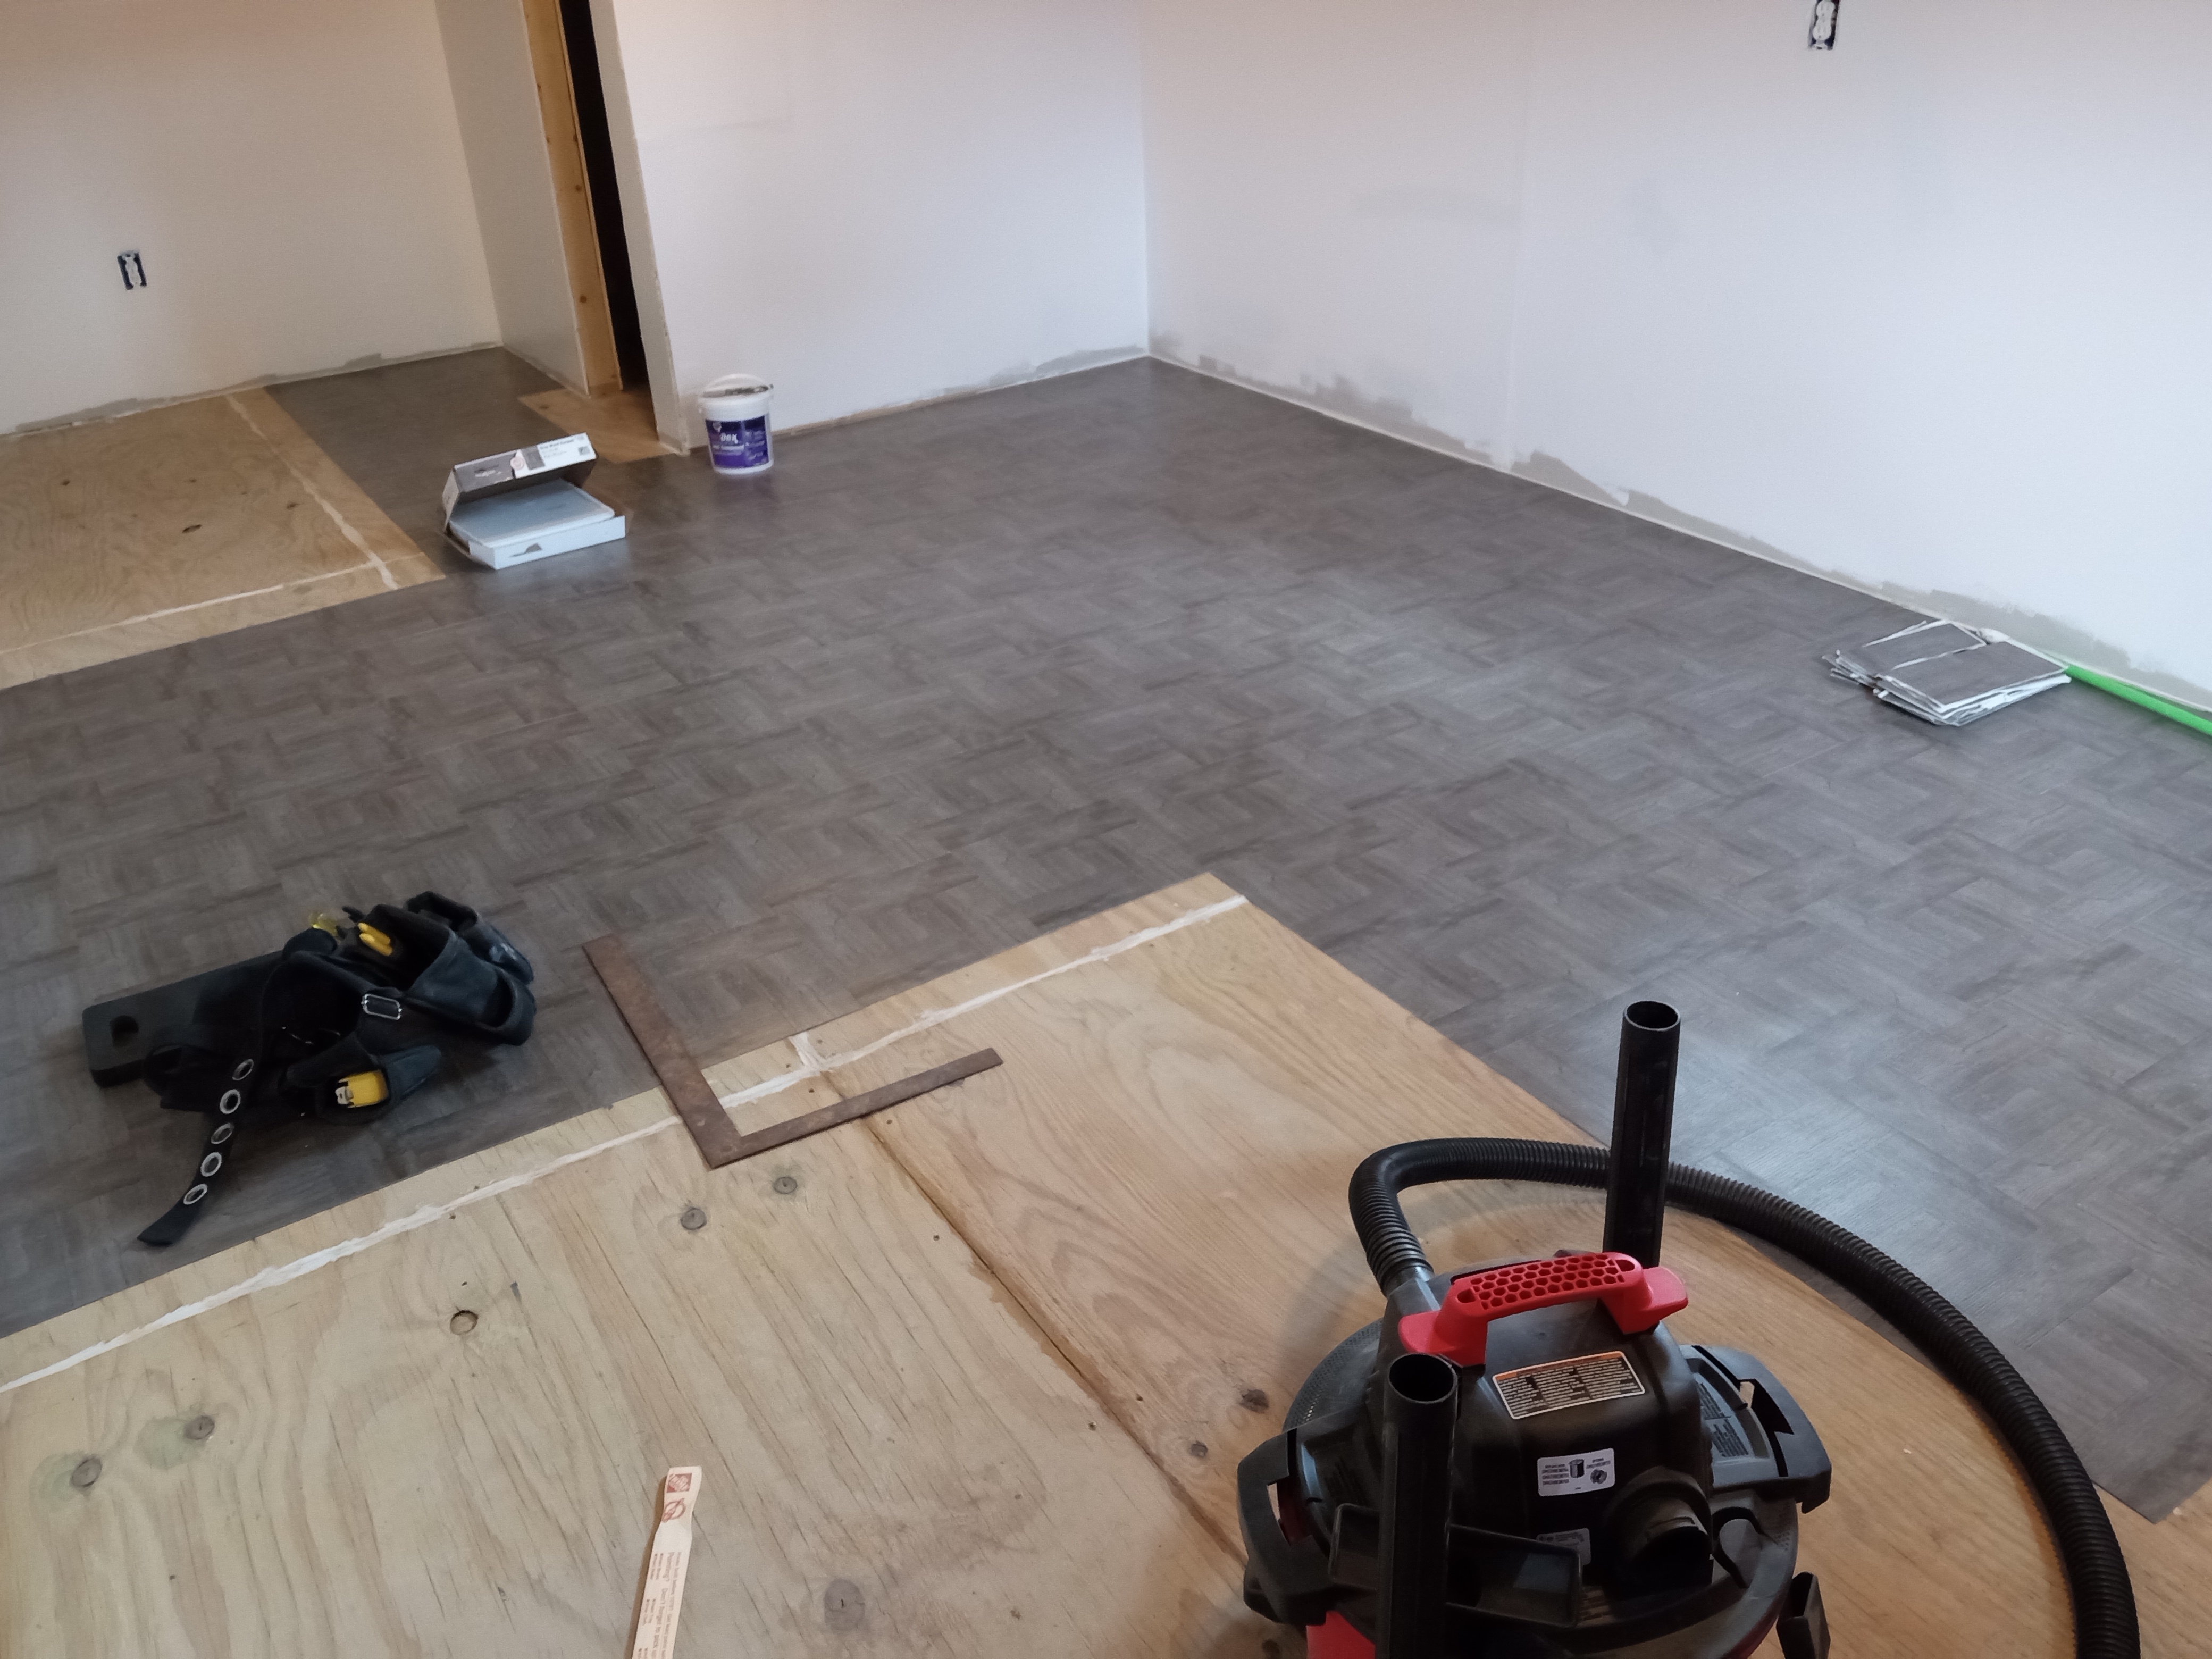
Had to pull up one of the floorboards and readjust it as it started bowing upwards a bit. We have another board to finish that same process with before we start laying flooring.

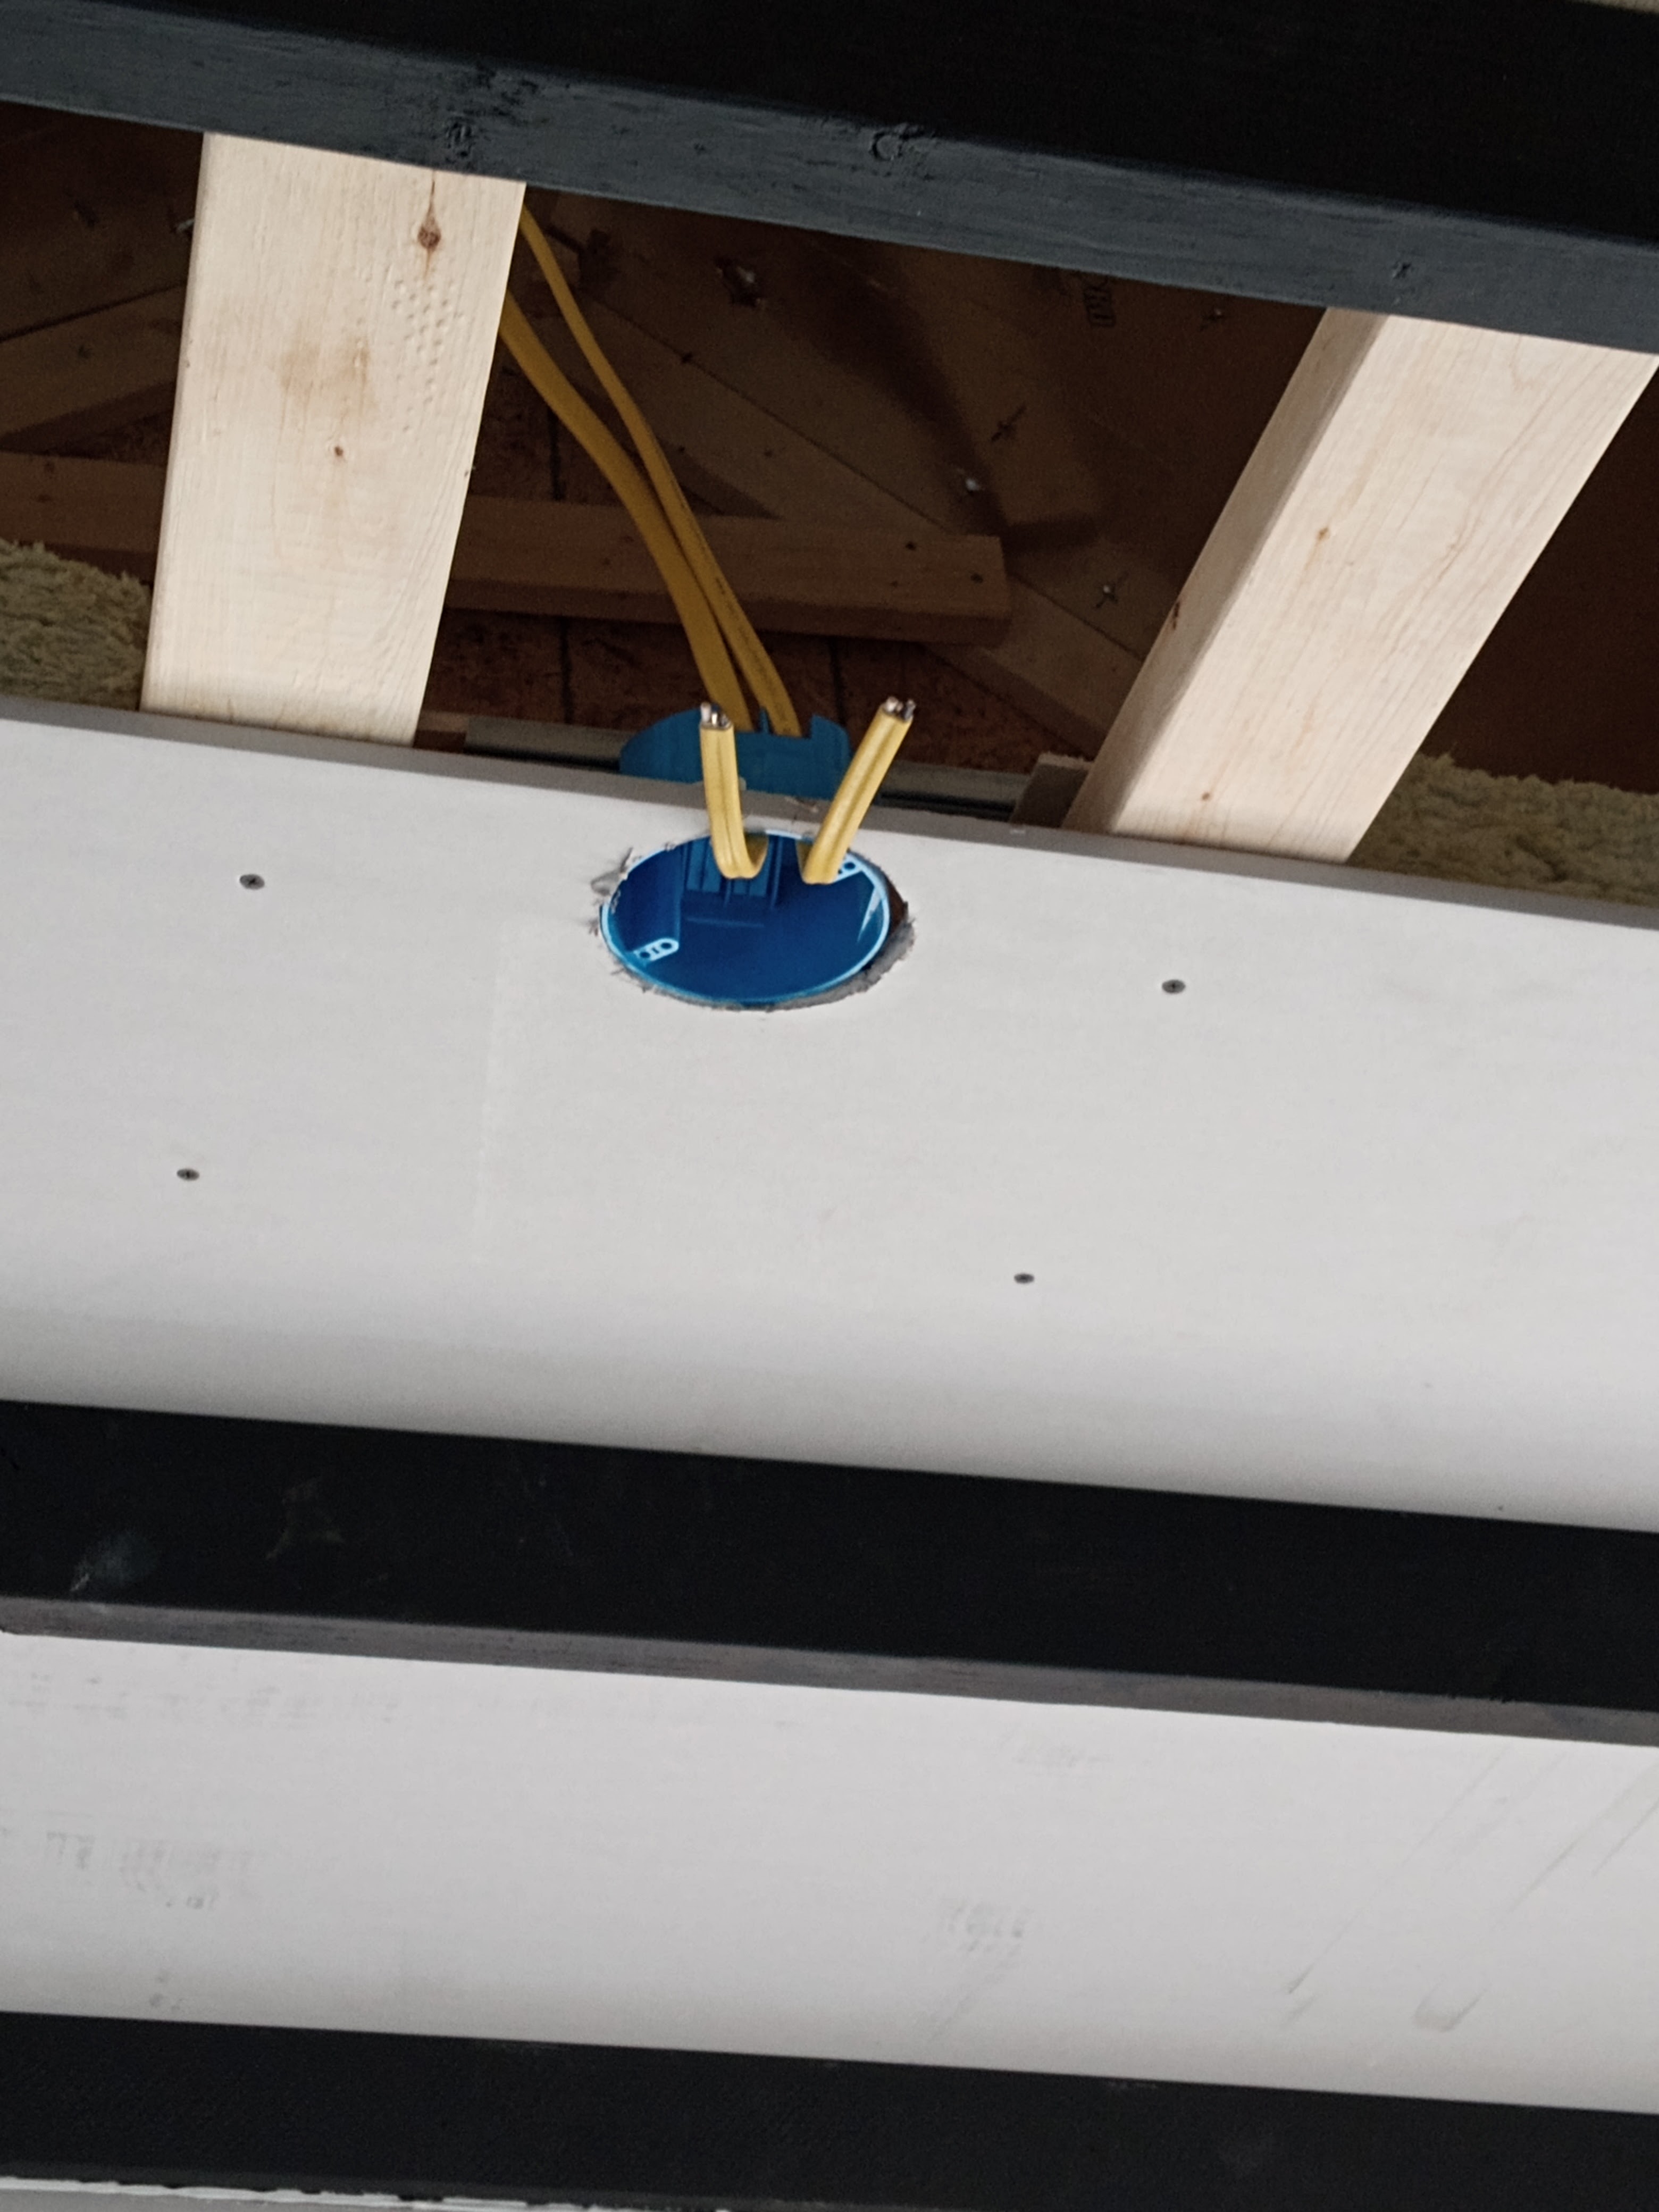
We installed both ceiling fans, all the electrical plugs and the 2 light switches. Don't forget to stabilize the area that a ceiling fan will hang from. We did that by screwing in extra 2x4 boards. Ready for the best part?? We have even hooked up power! It is so nice to turn on those fans while working outside in the heat.

We have put up all the drywall! No more insulation to cough through and no more drywall hanging. We even signed inside some of the walls, while adding our favorite bible verses. Mostly about building houses! 

I added putty around the seams and over screws to give the walls a smoother appearance when I paint them. I can't tell you how much I miss the various tools my dad always had. I'm also glad he taught me how to do the job right. I didn't appreciate it much when he was teaching me as he was such a perfectionist. However, now that I'm doing it myself, I can understand the 'why' so much more. I'm not as proficient as he always was, but I'm still doing the best I can. Today, I plan to do a final run with foam and putty.

An added bonus was the hatch door my husband installed to the ceiling. In case we need to get access to the attic space, there is a small opening that we can shimmy through. 

We have more confidence in getting this done quickly. Even with losing a day because of strong rain storms.  Our goal is to be finished and move-in-ready by the 17th. However, I am hoping that just a few more days and we can call it complete. The flooring may take a while. And then painting... That will be a process. But most of this is going by quicker than we anticipated! Which makes us glad. We also look forward to having our boys back home. They have been busy helping to clean and make repairs to their Nona and Aunts house. I'm proud of them for doing that. 

Until next time!